A fully custom, WiFi-enabled dog communication button system built on an ESP32-S3.
This project is inspired by commercial dog communication buttons, but built from scratch with full control, expandability, and MQTT data logging.
Train your dog to “talk” using buttons while collecting real usage data for analysis, automation, or just curiosity.
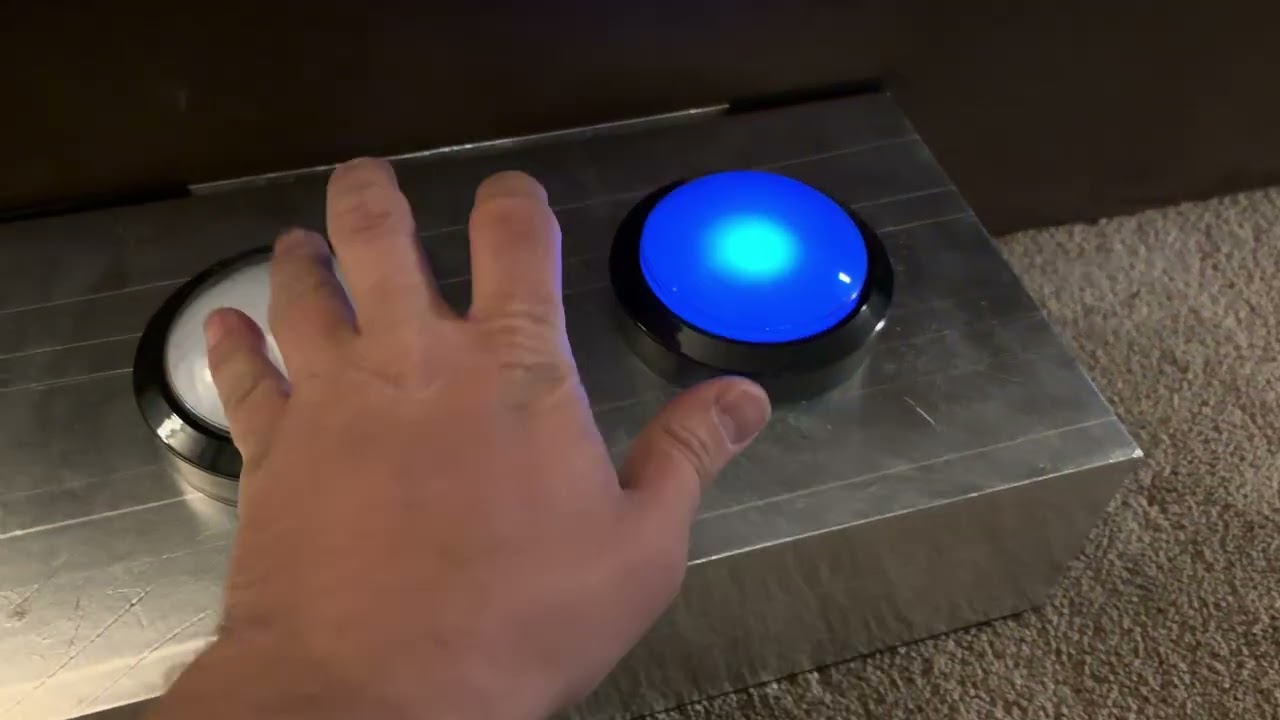
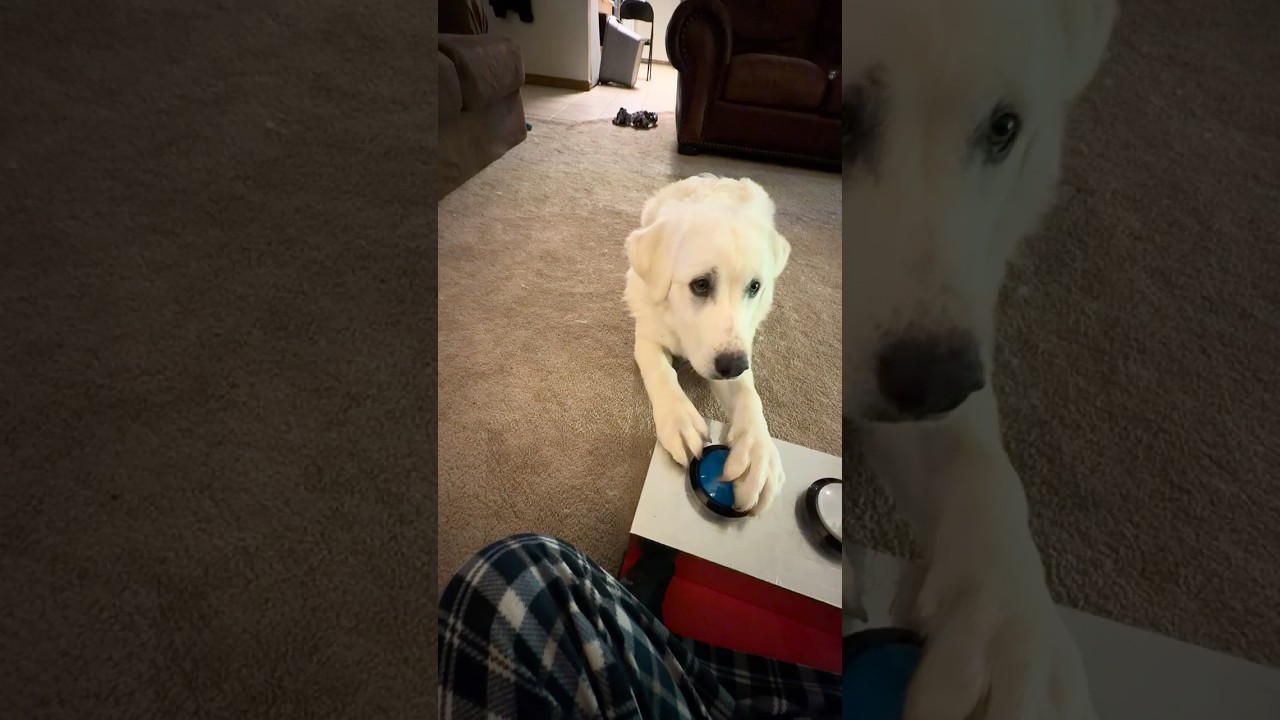
For training tips to teach your dog to use them, visit my youtube channel
This project allows your dog to press physical buttons that:
Play recorded audio of your voice (e.g., “treat”, “outside”)
Provide LED feedback in buttons during playback
Log button presses with timestamps via MQTT to a local Node-RED server
Dog training and communication research
Smart home integration
IoT experimentation with ESP32-S3
Learning embedded systems, MQTT, RTOS, and Node-RED
Arduino IDE: for uploading to ESP32
ESP32-audioI2S Library: for playing audio files from SD card via I2S on an ESP32
Audacity: for recording audio files
Node-RED: for data logging and further analytics/integrations
Mosquitto MQTT Broker: for MQTT messaging between devices
ESP32-S3 N16R8 WROOM - https://www.amazon.com/dp/B0D93DLB6Q
Micro SD Card Module - https://www.amazon.com/dp/B0FSWXYBYH
8GB Micro SD Card (FAT32) - https://www.amazon.com/dp/B0D5HDNMP8
MAX98357A I2S Amplifier - https://www.amazon.com/dp/B0B4GK5R1R
4 Ohm 5 Watt Speaker - https://www.amazon.com/dp/B081169PC5
IP5306 Lithium Battery Boost and Charge Module - https://www.amazon.com/dp/B0836J8LR4
18650 Battery Cell - Salvage from laptop and tool batteries or https://www.amazon.com/dp/B0G4VY3HT6
Battery Holder - https://www.amazon.com/dp/B0BJV7SK5D
4-Inch Buttons with LED - https://www.amazon.com/dp/B071FSKY6Q
Micro USB Power Adapter (for charging 18650 cells easier) - https://www.amazon.com/dp/B0G4VY3HT6
Breadboard + Male to Male Dupont wires (for prototyping) - https://www.amazon.com/dp/B08Y59P6D1
0.1uF ceramic and 100uF electrolytic capacitors (bypass capacitors for amp sound quality) - Just find some cheap ones it's not rocket science
Raspberry Pi Zero 2 W (to host a Node-RED server and MQTT Broker for logging data) - https://www.amazon.com/dp/B0DRRRZBMP this kit does not come with power adaptor
Included is a Dog_Buttons.ino file that needs to be uploaded to your ESP32 using the Arduino IDE (check images below for settings). There are also two example audio files treat.wav and outside.wav that need to be loaded onto the root / directory of the Micro SD Card.
Is a low-code programming platform built on JavaScript that makes it easy for beginners and professionals alike to rapidly prototype their ideas into fully functional projects with a focus on event driven applications.
You can host a local Node-RED server using a Raspberry Pi (I used a Zero 2 W) and host a Mosquitto MQTT Broker to log data from an ESP32 to track patterns and behavior trends over time, visualize button usage, and trigger smarthome automations.
# Installation script
bash <(curl -sL https://github.com/node-red/linux-installers/releases/latest/download/update-nodejs-and-nodered-deb)

# If you want Node-RED to run when the device is turned on, or re-booted, you can enable the service to autostart by running
sudo systemctl enable nodered.service
Once Node-RED is running you can access the editor in a browser.
If you are using the browser on the Pi desktop, you can open the address: http://localhost:1880
If you are using another devices browser replace localhost with the IP address of your Raspberry Pi running Node-RED. You can find the IP address by running hostname -I on the Pi.
# Installation script
sudo apt install -y mosquitto mosquitto-clients

# Run as a service at start
sudo systemctl enable mosquitto.service

# Test the installation
mosquitto -v

# By default connections will only be possible from clients running on this machine, so you will need to enable remote access
# Run the following command to open the mosquitto.conf file
sudo nano /etc/mosquitto/mosquitto.conf

#Move to the end of the file using the arrow keys and paste the following two lines:
listener 1883
allow_anonymous true
# Then, press CTRL-X to exit and save the file. Press Y and Enter

# Restart Mosquitto for the changes to take effect
sudo systemctl restart mosquitto
For more detailed instructions on installing and setting up Mosquitto check out this tutorial.
Instructions for Importing and Exporting Flows in Node-RED
Included is a flow.json file that will get you logging data very quickly.
| Component | ESP32 Pin |
|---|---|
| SD CS | GPIO 10 |
| SPI MOSI | GPIO 16 |
| SPI MISO | GPIO 18 |
| SPI SCK | GPIO 17 |
| I2S DOUT | GPIO 21 |
| I2S BCLK | GPIO 20 |
| I2S LRC | GPIO 47 |
| Button 1 | GPIO 4 |
| Button 2 | GPIO 8 |
| LED 1 | GPIO 5 |
| LED 2 | GPIO 9 |
If you wire it differently, be sure to update the code with the pins you used.
// WiFi
const char* ssid = "SSID";
const char* wifi_password = "PASSWORD";

// MQTT
const char* mqtt_server = "IP_ADDRESS";
const int   mqtt_port = 1883;
const char* mqtt_user = "USERNAME";
const char* mqtt_pass = "PASSWORD";Format: .wav
Encoding: PCM
Bit depth: 16-bit
Sample rate: 16kHz
Channels: Mono
[
  {"event":"treat","time":1776649393},
  {"event":"outside","time":1776649430}
]19/04/2026, 18:47:13, "treat" was pressed
19/04/2026, 18:48:51, "outside" was pressed


If audio is too quiet → normalize files in Audacity
If audio glitches → add bypass capacitors to the amplifier
If MQTT drops → check Wi-Fi stability and broker availability
Uncomment Serial lines in code for debugging
Contributions are welcome! Please feel free to submit a Pull Request.
This project is licensed under the MIT License - see the LICENSE file for details.
If you encounter any issues or have any questions, please file an issue on the GitHub repository.